Welcome to my first ever crochet pattern – a rectangle! (lol)
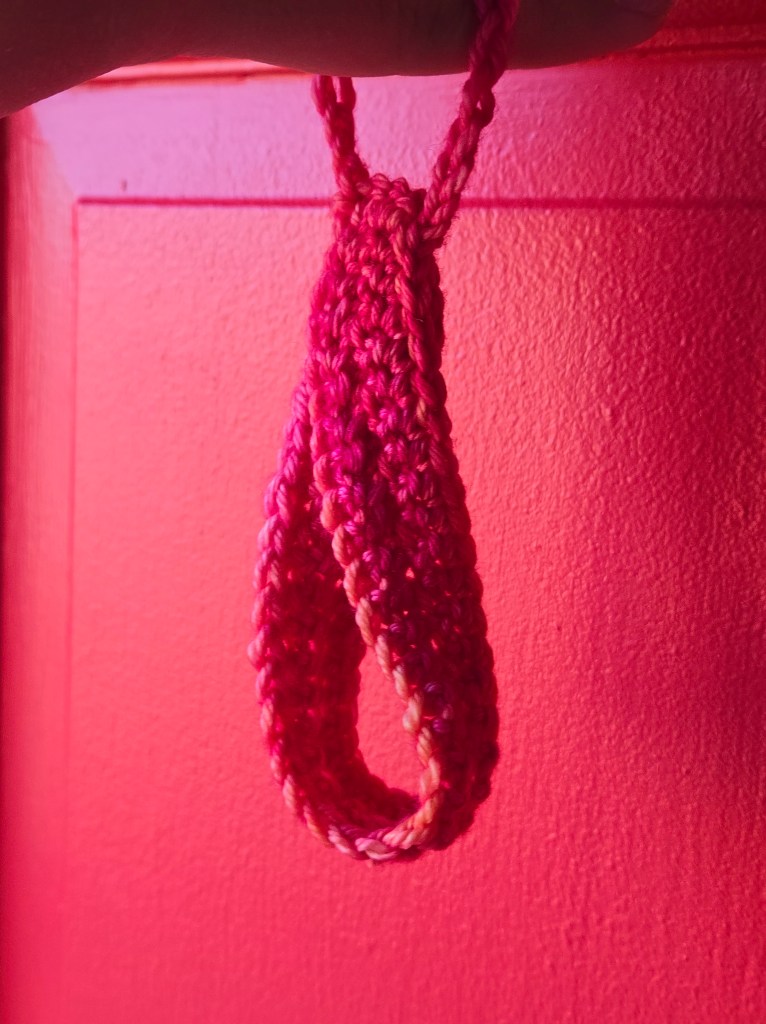
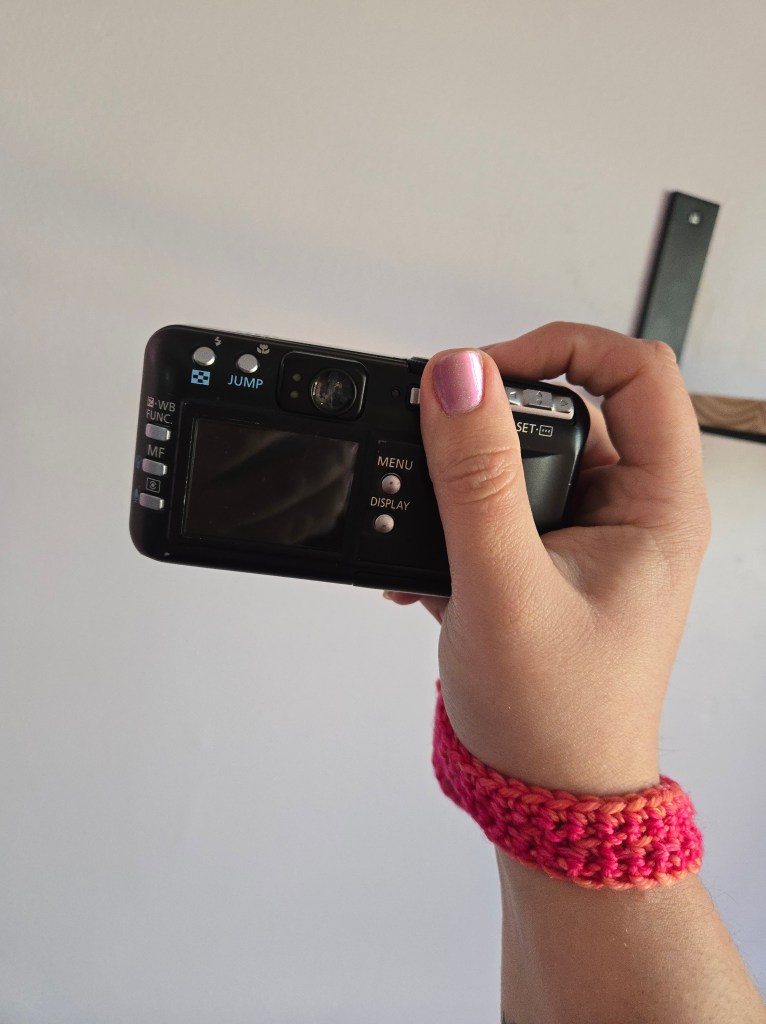
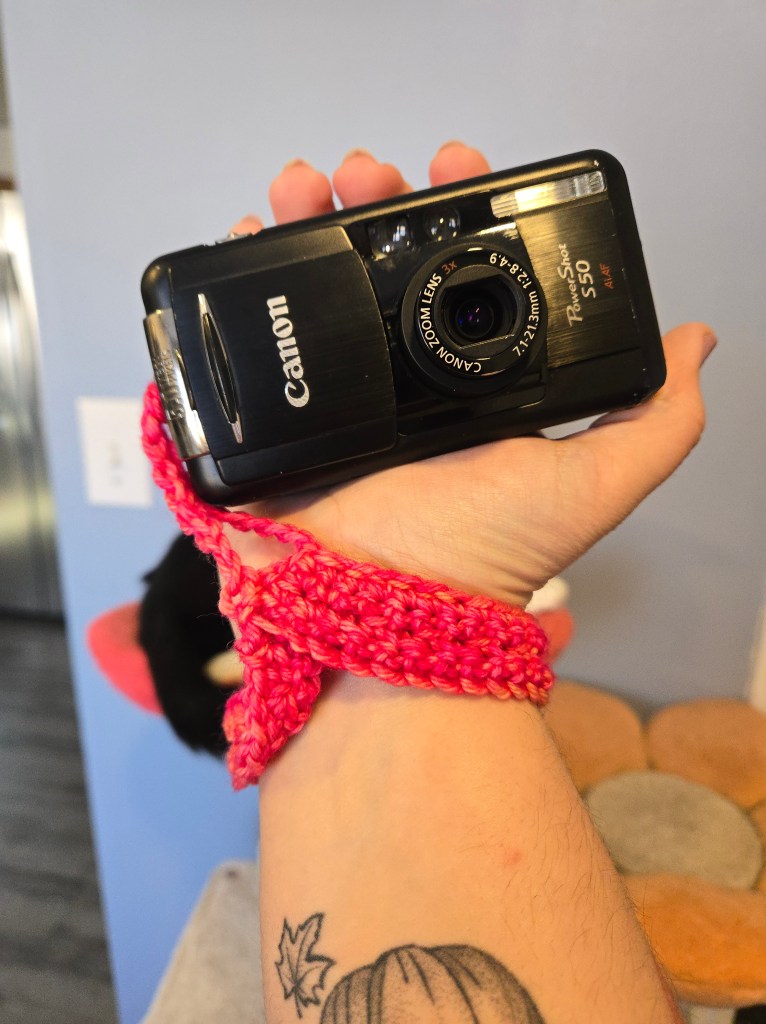
Well, it’s more so a rectangle with a loop. I made this for a digicam I got off of Mercari. It’s a super simple pattern, but there weren’t many free crochet camera strap patterns available, so I winged it. (It’s so cool to get to a point in a skill where you can wing things!!!)
You can do this pattern as long as you know how to do chains, single crochets, and front/back-loop-only stitches. This pattern is beginner-friendly, but I won’t include instructions on how to crochet. Youtube is your friend!
Supplies:
- 6.5mm Crochet Hook
- Worsted (4) Weight Yarn
- maybe 50 yards ABSOLUTE MAX
- Scissors
- Tapestry needle
- or something to weave the ends in
Instructions
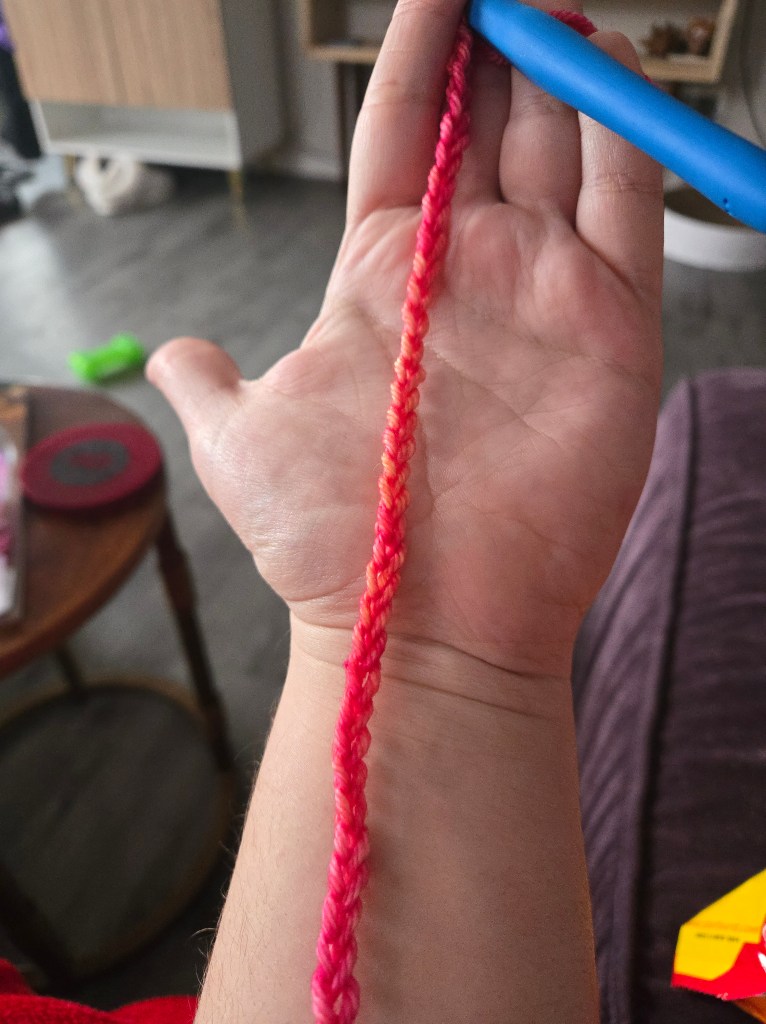
Step 1: Chain (CH) 41
If you have smaller wrists, feel free to downsize here to any odd number
Row 1: Single crochet (SC) into the back bumps of each chain (40)
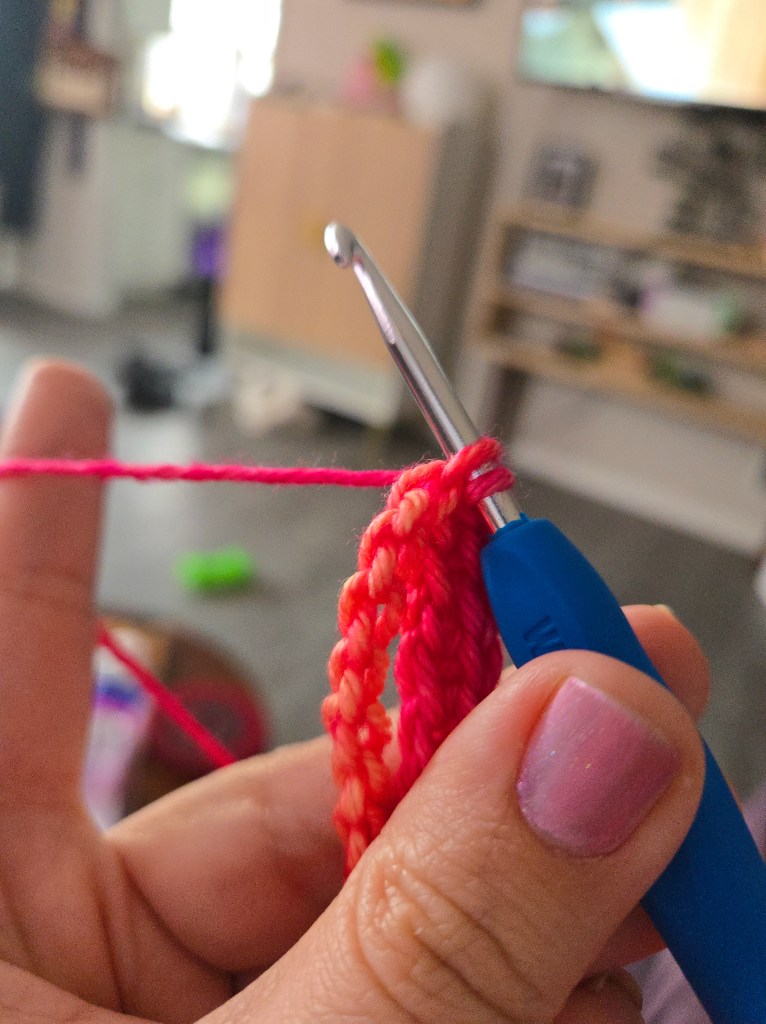
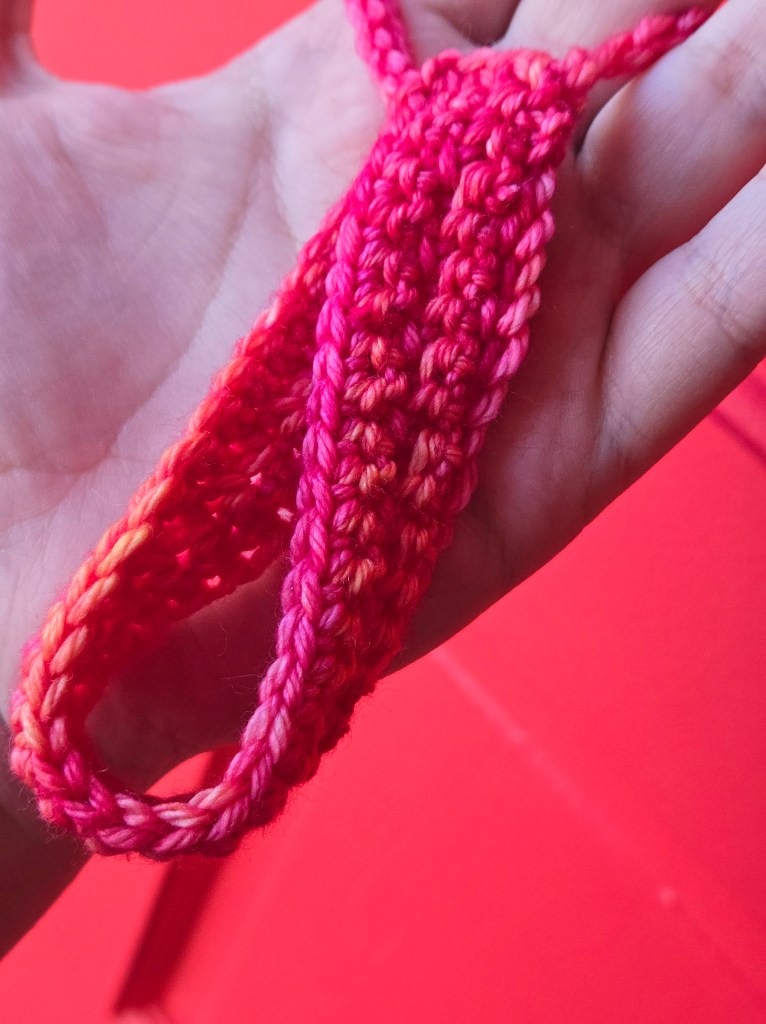
Row 2: CH 1, turn. 2SC, then alternate SC into the Front Loop Only (FLO), and Back Loop Only (BLO) 18 times, then 2 SC
Row 3: CH 1, turn. 2 SC, (SC BLO, SC FLO) * 18, 2 SC
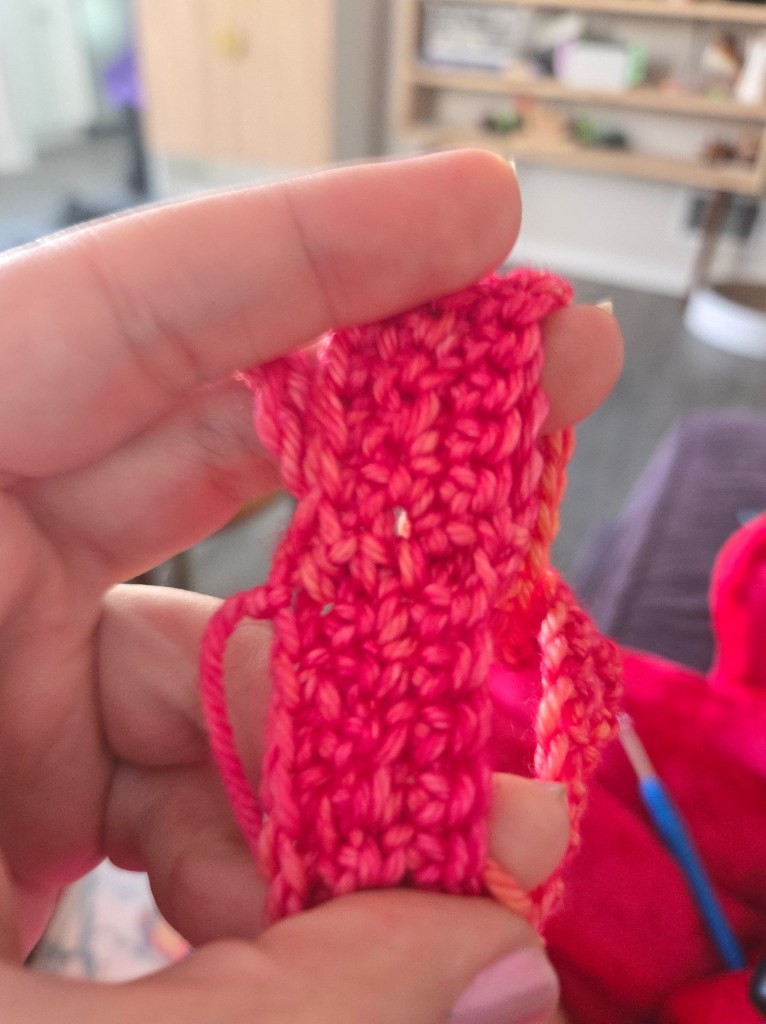
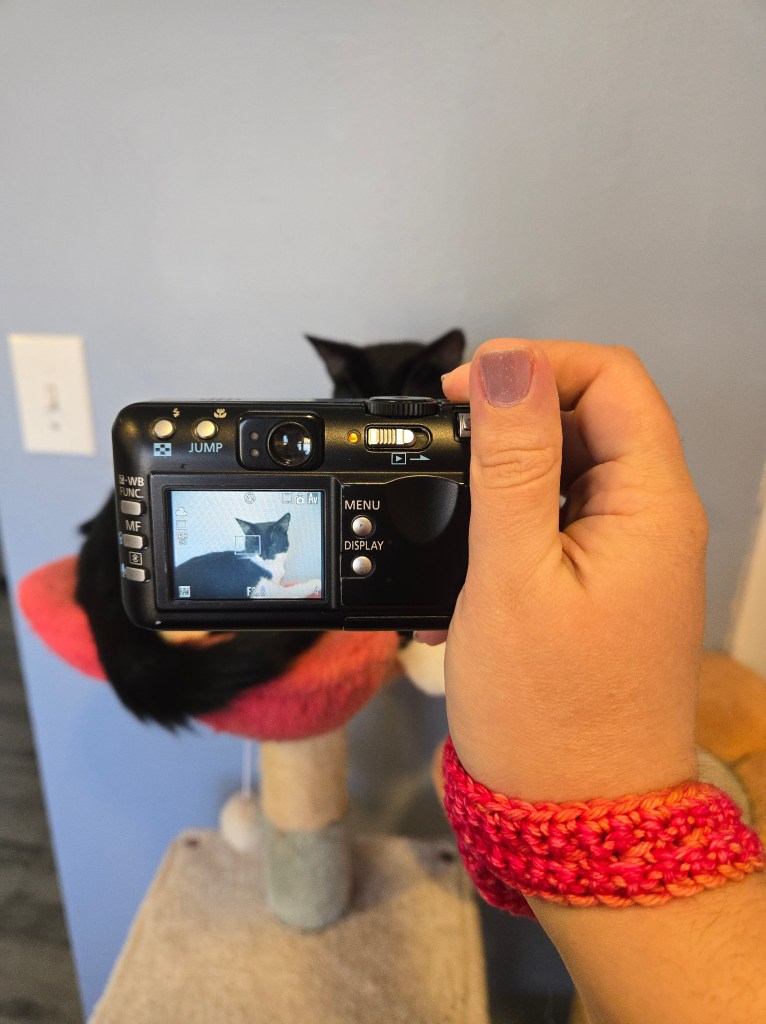
These last two steps made a ribbed(ish) pattern down the wrist strap. It’s a bit hard to see in this picture, since it’s a subtle effect, but it makes it a bit more interesting than just a rectangle!
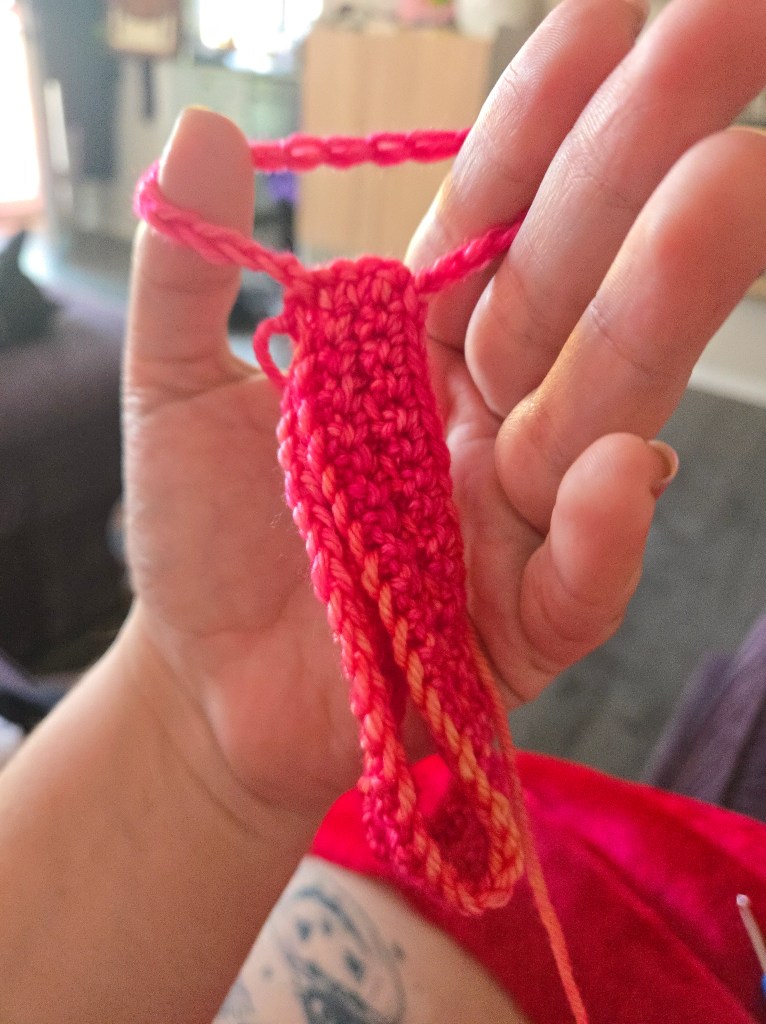
Row 4: CH 1, turn. 40 SC
Step 5: SC into the first stitch of Row 4. Make sure the strap isn’t twisted!
Step 6: CH 20
Step 7: SC into the first and last stitches of Row 1
Step 8: SC down the short ends, in between where the CH 20 starts and stops
Finishing up: Snip the yarn, and pull with your hook until the cut end pops through your last stitch. Make sure to weave your ends in!
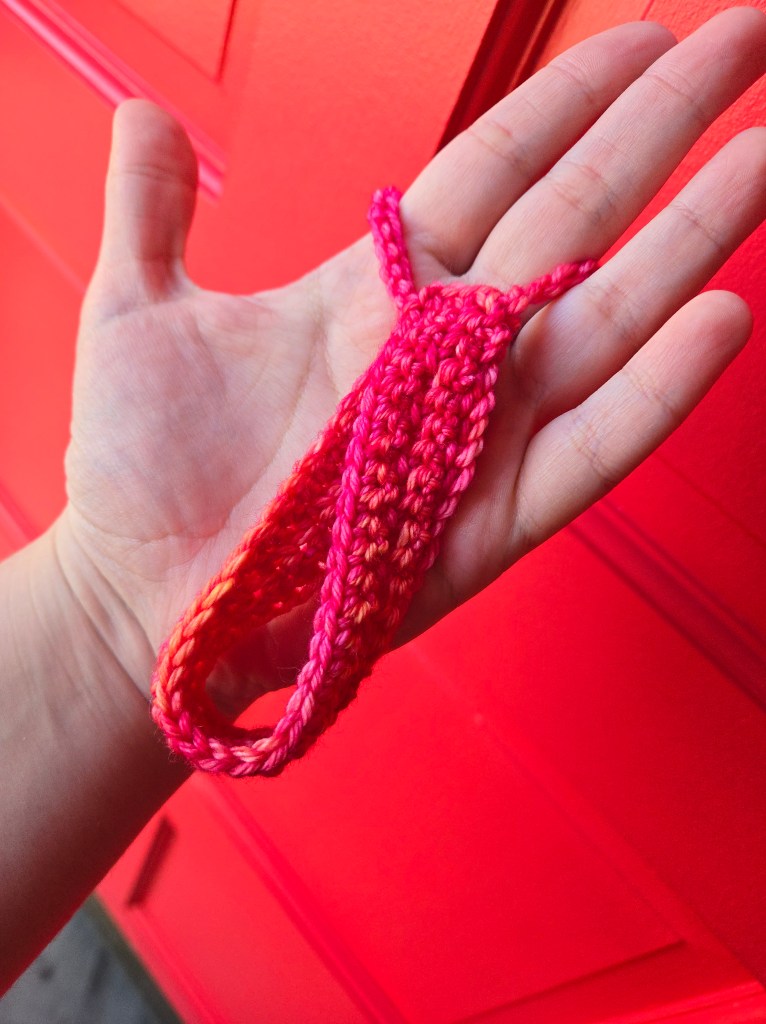
Showing the last few steps via pictures was a bit difficult, but I’m confident you can figure it out just by looking at these pictures!


And that’s that!
This was a super quick project, and works perfect for my camera. Also was an excuse to try this beautiful yarn! This is made in Malabrigo Rios Gemini. Super soft yarn to work with, and oh so pretty.
This pattern could totally be sized up or down, and you could use different weights of yarn, too. If going smaller (yarn weight), you might want to repeat rows 2 and 3 once or twice.
Really, this is a rectangle with a loop. Not an intricate pattern, but my first real try freestyling something, and I’m happy that I got something usable out of it!
If you decide to make this, I would love, love, love seeing it. You can email me at thecraftycoderblog@gmail.com!
bye();

Leave a comment